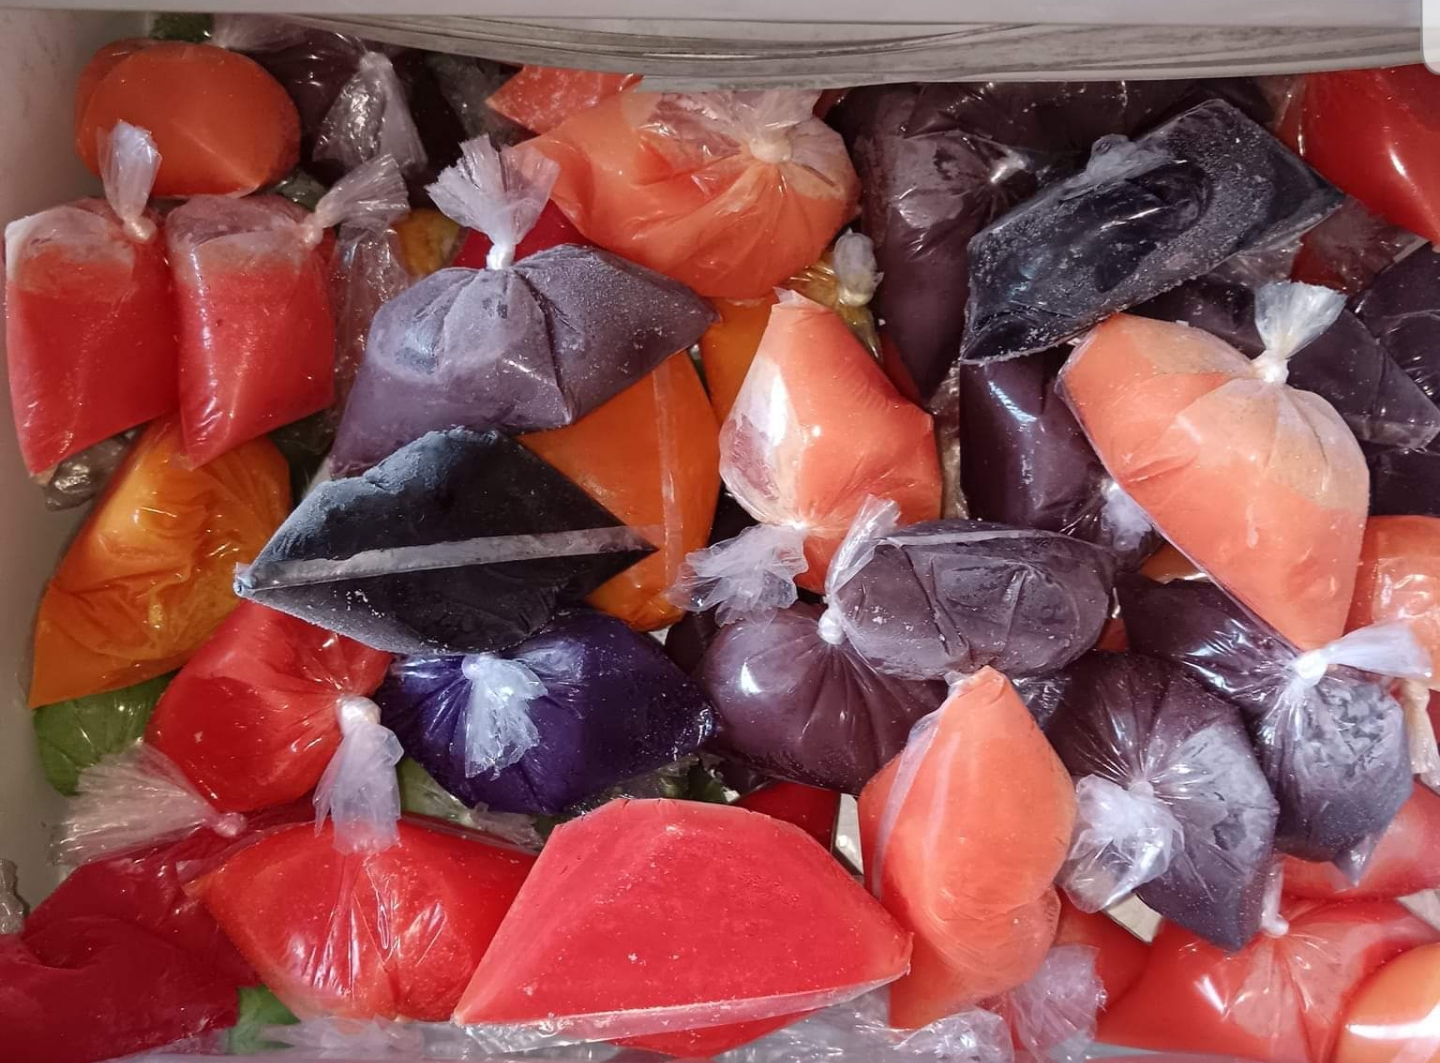
Flavoured ice, also known as “ice lollies” or “ice blocks” in South Africa, is a delightful and refreshing treat, perfect for hot summer days. These homemade popsicles are simple to make, customizable, and a hit with both kids and adults. Using small plastic bags instead of popsicle trays adds a fun and traditional twist to this classic treat. Here’s a step-by-step guide to making flavoured ice at home.
Ingredients:
- Fruit Juice: Any of your favorite fruit juices such as orange, apple, mango, or mixed fruit.
- Fresh Fruits: Optional, for added texture and flavor (e.g., strawberries, blueberries, kiwi, mango).
- Sweeteners: Optional, if needed (sugar, honey, or agave syrup).
- Water: To dilute if the juice is too strong.
- Small Plastic Bags: Small ziplock bags or special ice lolly bags.
Equipment:
- Measuring Cups: For accurate measurements.
- Mixing Bowl: To combine the ingredients.
- Funnel or Ladle: To pour the mixture into the bags.
- Freezer: For freezing the popsicles.
Instructions:
Step 1: Prepare the Ingredients
- Choose Your Base: Select your favorite fruit juice or a combination of juices. Freshly squeezed juice is best, but store-bought juice without added sugars or preservatives also works well.
- Add Fresh Fruits: If desired, chop fresh fruits into small pieces and add them to the juice. This adds texture and enhances the flavor of your popsicles.
- Sweeten to Taste: Taste your juice mixture and add sweetener if needed. Remember, the freezing process can dull the sweetness, so adjust accordingly.
Step 2: Mix and Fill the Bags
- Combine Ingredients: In a mixing bowl, combine the fruit juice, fresh fruit pieces (if using), and any sweeteners. Mix well to ensure an even distribution of ingredients.
- Prepare the Bags: Place the small plastic bags on a flat surface. Using a funnel or a ladle, carefully pour the juice mixture into each bag, filling them about three-quarters full to allow room for expansion when freezing.
- Seal the Bags: Gently squeeze out any excess air and seal the bags tightly. Make sure the seal is secure to prevent leaks during freezing.
Step 3: Freeze the Popsicles
- Arrange in Freezer: Lay the sealed bags flat on a baking sheet or tray to keep them upright and prevent spilling. Place the tray in the freezer.
- Freeze Until Solid: Freeze the popsicles for at least 4-6 hours or until completely solid. For best results, leave them in the freezer overnight.
Step 4: Enjoy Your Flavoured Ice
- Serve: Once frozen, remove the popsicles from the freezer. To enjoy, simply cut the top of the plastic bag and push the flavoured ice up from the bottom.
- Store: Any leftovers can be kept in the freezer for up to a few weeks. Keep the bags sealed to maintain freshness and prevent freezer burn.
Recipe Variations:
- Creamy Popsicles: Add a bit of coconut milk, yogurt, or condensed milk to the juice mixture for a creamier texture.
- Layered Popsicles: Create layered popsicles by freezing one layer of juice, letting it set, and then adding another layer of a different juice.
- Herbal Infusions: Add a hint of herbs like mint or basil to your juice mixture for a refreshing twist.
Making flavoured ice at home is a fun and easy way to beat the heat while enjoying a healthy and refreshing treat. With endless possibilities for flavors and combinations, you can tailor these homemade popsicles to suit your taste. The use of small plastic bags not only adds a nostalgic touch but also makes them easy to handle and store. Gather your favorite fruits and juices, and start freezing your delicious flavoured ice today!


