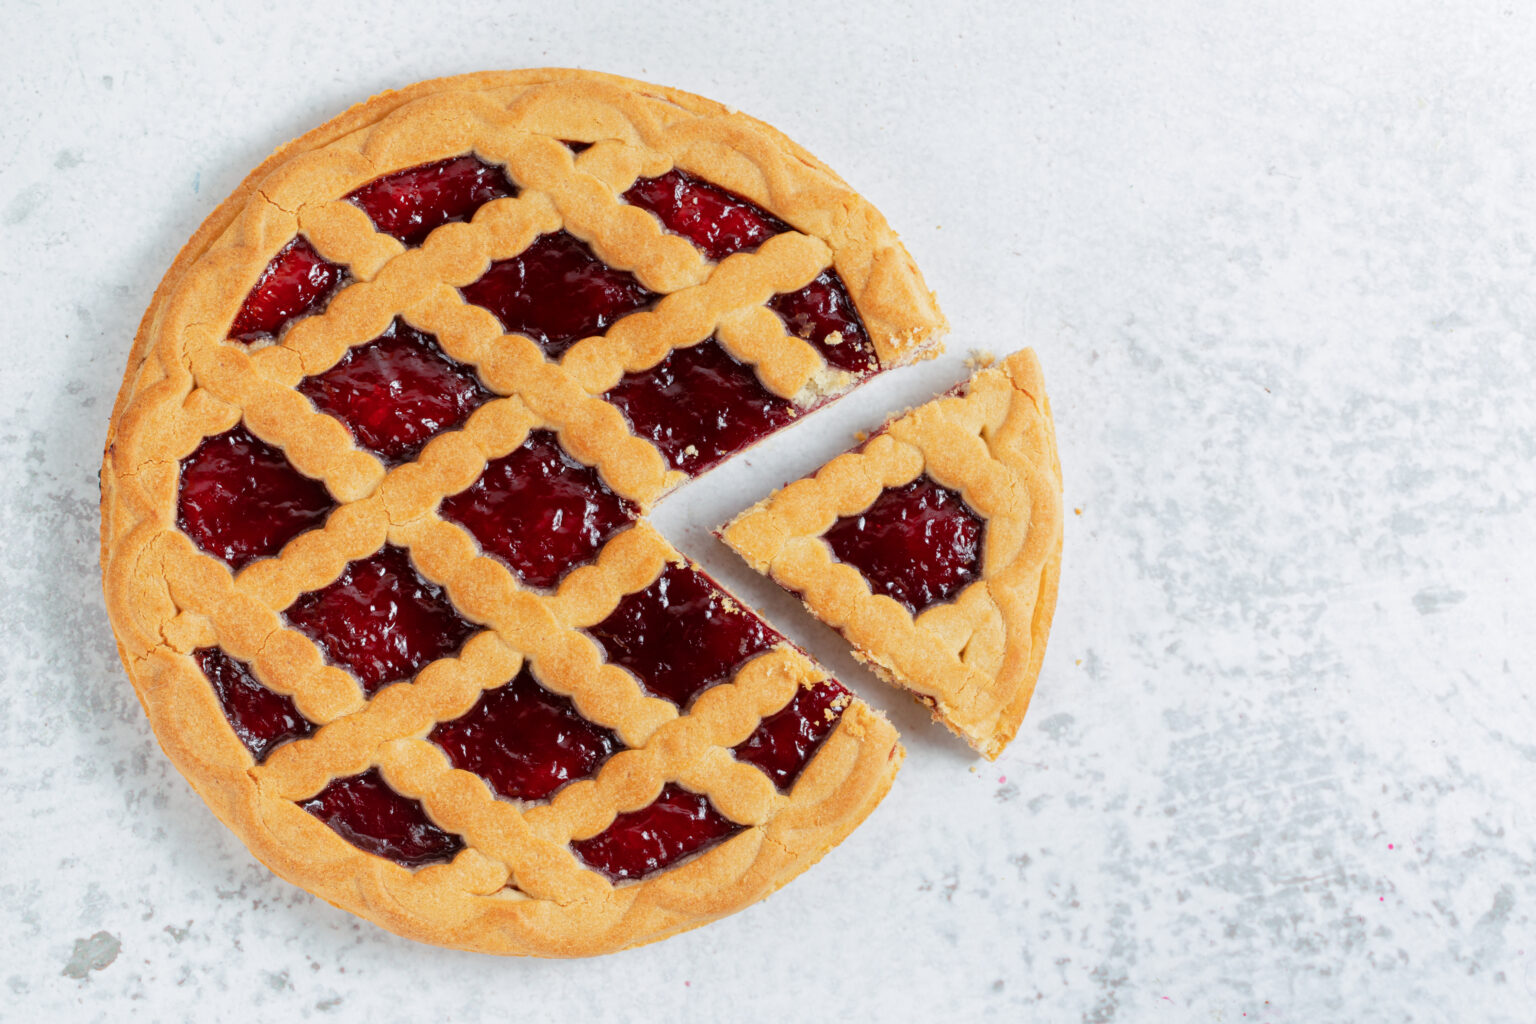
Few desserts capture the essence of summer quite like a homemade cherry pie. With its vibrant ruby-red filling and flaky crust, a well-made cherry pie is a true delight. If you’re looking to bake the best homemade cherry pie, we’ve gathered expert tips and techniques to help you achieve a pie that is bursting with sweet-tart cherry flavor and has a perfect crust. Get ready to impress your family and friends with this classic dessert.
- Select the Right Cherries:
Choosing the right cherries is essential for a delicious pie. Sour cherries are the traditional choice, as they provide a tartness that balances the sweetness of the pie. Look for fresh or frozen sour cherries, such as Montmorency or Morello cherries. If you can’t find sour cherries, you can use a combination of sweet and tart cherries or opt for all sweet cherries, adjusting the sugar accordingly. - Pit the Cherries:
Pitting the cherries is a crucial step to ensure a pleasant eating experience. While fresh cherries can be pitted manually using a cherry pitter, frozen cherries often come already pitted. Ensure you remove any pits or stems from the cherries before incorporating them into the pie filling. - Enhance the Flavor:
To enhance the flavor of your cherry pie, add complementary ingredients such as lemon juice, almond extract, or a splash of brandy. Lemon juice adds brightness and helps balance the sweetness, while almond extract imparts a subtle nutty flavor that pairs well with cherries. A small amount of brandy can bring a depth of flavor to the filling. - Thicken the Filling:
Cherry pie filling can be quite juicy, so it’s important to thicken it properly. Use a combination of cornstarch or tapioca starch and sugar to thicken the filling. These ingredients will absorb the excess liquid and create a luscious, gooey filling. Avoid using flour as a thickener, as it can result in a pasty texture. - Roll Out the Crust:
For a flaky and tender crust, handle the dough with care. Roll out the crust on a lightly floured surface, rotating it occasionally to maintain an even thickness. Aim for a thickness of about 1/8 inch (0.3 cm). If the dough becomes too soft or sticky, refrigerate it for a few minutes before continuing. - Chill the Crust:
Chilling the crust before baking is crucial to maintain its shape and prevent shrinking. After lining the pie dish with the bottom crust, place it in the refrigerator for at least 30 minutes. Chilling also helps the crust become flakier during baking. - Ventilate the Pie:
To prevent the pie from bubbling over, create vents in the top crust. This allows steam to escape during baking and prevents the filling from overflowing. You can make slits with a sharp knife or use decorative pie crust cutters to add a touch of flair. - Protect the Crust:
To prevent the edges of the crust from over-browning, cover them with a pie crust shield or strips of aluminum foil. This will allow the center of the pie to continue baking while protecting the delicate edges. - Cool and Set:
After baking, allow the cherry pie to cool completely on a wire rack. This will allow the filling to set, making it easier to slice and serve. While it may be tempting to dig in right away, a slightly cooled pie ensures a neater presentation and enhances the overall eating experience.
With these expert tips and techniques, you’re ready to bake the best homemade cherry pie. From selecting the right cherries to achieving a flaky crust and perfectly thickened filling, each step contributes to a pie that is both visually appealing and incredibly delicious. So, tie on your apron, gather your ingredients, and embark on a delightful cherry pie baking adventure that will leave everyone craving for more.


