Danish pastries, with their flaky layers, buttery richness, and delightful fillings, are a true indulgence. While they may seem complex to make, with the right techniques and a bit of practice, you can create bakery-quality Danish pastries in the comfort of your own kitchen. In this article, we will share seven essential tips to help you bake the best homemade Danish pastries that will impress your family and friends.
- Start with a Good Dough:
The key to a successful Danish pastry lies in the dough. Opt for a recipe that includes high-quality ingredients, such as bread flour, butter, sugar, eggs, and yeast. Give the dough sufficient time to rise and rest, as this will contribute to its lightness and flakiness. - Incorporate Butter Properly:
One of the defining characteristics of Danish pastry is its buttery layers. To achieve this, use the “laminating” technique, where cold butter is enclosed within the dough and folded multiple times. Roll out the dough and butter together, then fold and roll again to create layers. Ensure the butter remains cold and doesn’t melt during the process. - Practice Proper Folding Techniques:
Mastering the folding technique is crucial for creating distinct layers in Danish pastries. After rolling out the dough, fold it into thirds, similar to a letter. Rotate the dough 90 degrees, then roll it out and fold it again. Repeat this process several times, chilling the dough in between each fold. This creates the flaky texture and buttery layers that Danish pastries are known for. - Experiment with Fillings:
Danish pastries offer a wide variety of filling options, from fruit preserves and cream cheese to almond paste and chocolate. Get creative and experiment with different combinations to find your favorite flavors. Remember to apply the fillings sparingly to avoid excess moisture that could compromise the pastry’s texture. - Proper Proofing:
After shaping your Danish pastries, allow them to undergo proper proofing to develop their flavor and texture. Place the pastries on a baking sheet lined with parchment paper and let them rise in a warm, draft-free area until they have increased in size. This step is essential for achieving a light and airy final product. - Egg Wash for a Beautiful Finish:
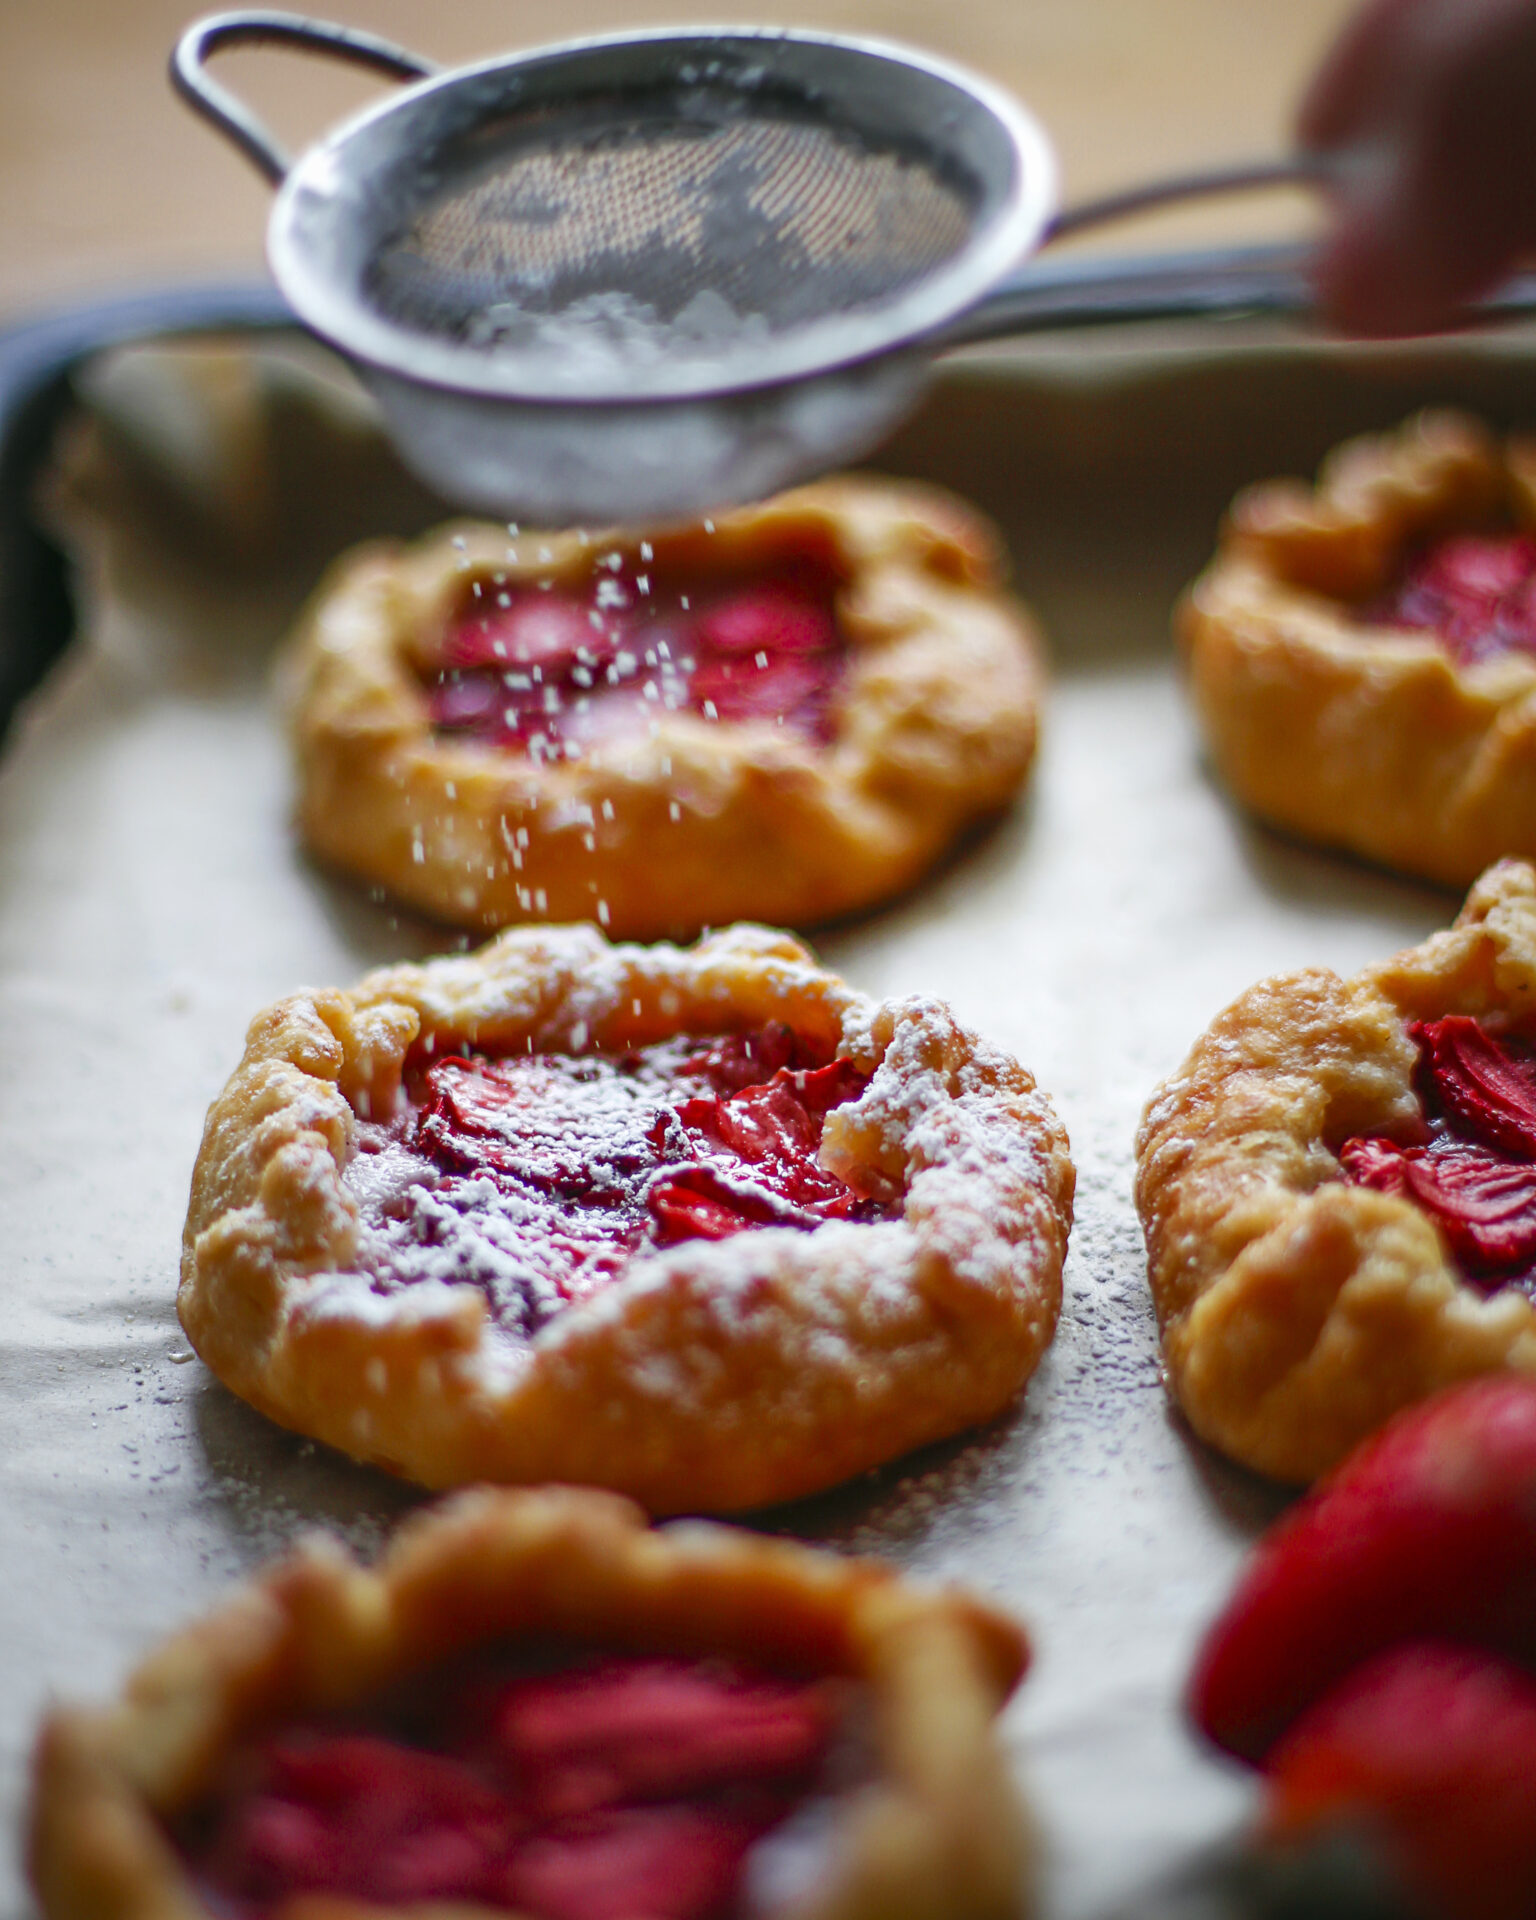
Before baking, give your Danish pastries a gentle egg wash. Whisk together an egg with a little water or milk and lightly brush it over the pastries. This will result in a beautiful golden-brown color and a glossy finish once baked. - Temperature and Timing:
Proper temperature and timing are crucial for perfectly baked Danish pastries. Preheat your oven to the recommended temperature stated in your recipe, and keep a close eye on the pastries as they bake. They should turn golden brown and develop a crisp texture. If they start to brown too quickly, cover them loosely with foil to prevent over-browning.
Baking homemade Danish pastries requires a bit of practice and patience, but the rewards are well worth the effort. By following these seven essential tips, you can create flaky, buttery Danish pastries that rival those from a bakery. Remember to focus on the dough, incorporate butter properly, practice proper folding techniques, experiment with fillings, allow for proper proofing, apply an egg wash for a beautiful finish, and pay attention to temperature and timing. With practice, you’ll soon be enjoying delectable homemade Danish pastries that are sure to impress everyone around the breakfast or brunch table. Happy baking!