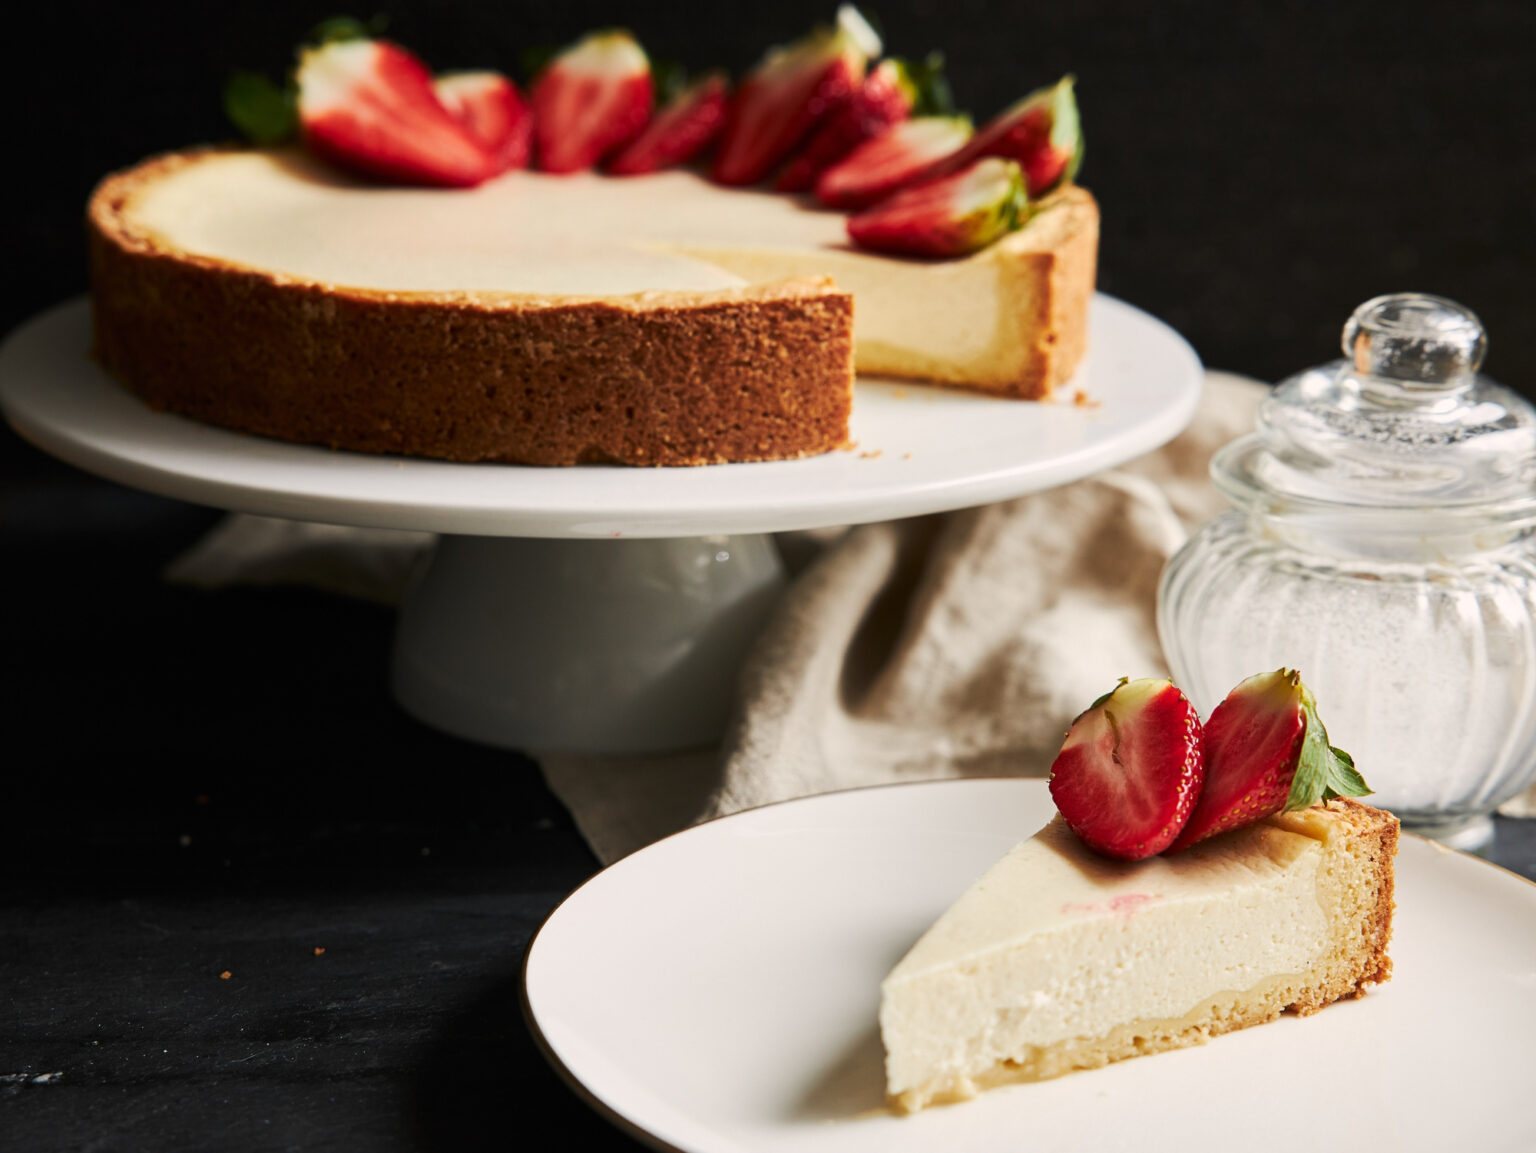
A creamy cheesecake with a buttery biscuit base is one of those desserts that feels special without requiring complicated baking skills. Using an air fryer makes the process convenient, especially when you want a homemade dessert without heating up a full oven. The secret to a delicious air fryer cheesecake is balancing a smooth, rich filling with a firm, crunchy base. Cream cheese provides the signature creamy texture, while eggs help the filling set as it cooks. A gentle cooking temperature is essential for preventing the cheesecake from becoming dry or developing deep cracks. Once chilled, the cheesecake becomes firmer and develops the rich flavour and velvety texture that make every slice irresistible. Follow this simple recipe to make a delicious air fryer cheesecake that is perfect for family gatherings, weekend treats or special occasions.
Creamy Air Fryer Cheesecake Recipe
This recipe combines a classic crushed-biscuit base with a smooth vanilla cream cheese filling. It is designed for a small cheesecake, making it ideal for compact air fryers and smaller households.
Preparation time: 20 minutes
Cooking time: 25 to 40 minutes
Chilling time: At least 4 hours
Servings: 6 to 8
Ingredients
For the buttery biscuit base
- 200 g digestive biscuits or Marie biscuits
- 90 g butter, melted
For the creamy cheesecake filling
- 400 g full-fat cream cheese, softened
- 100 g caster sugar
- 2 large eggs, at room temperature
- 100 g sour cream
- 1 teaspoon vanilla extract
- 1 tablespoon cornflour
- 1 teaspoon lemon juice
Equipment
- Air fryer
- 15 cm round springform cake tin that fits inside your air fryer
- Baking paper
- Mixing bowl
- Electric mixer or whisk
- Food processor or rolling pin
Step 1: Prepare the biscuit base
Crush the biscuits in a food processor or place them in a sealed bag and crush them with a rolling pin until they resemble fine crumbs. Transfer the crumbs to a bowl and stir in the melted butter until evenly combined. The mixture should feel like damp sand and hold together when pressed.
Line the base of your cake tin with baking paper, then press the biscuit mixture firmly into an even layer. Use the back of a spoon or the bottom of a glass to compact it, paying attention to the edges. Place the tin in the refrigerator for 15 minutes while you prepare the filling.
Step 2: Make the creamy cheesecake filling
Place the softened cream cheese and sugar in a mixing bowl. Beat on a low speed until smooth, scraping down the sides of the bowl to remove any lumps. Avoid whipping too much air into the mixture, as excess air can cause the cheesecake to rise during cooking and sink as it cools.
Add the eggs one at a time, mixing gently after each addition. Stir in the sour cream, vanilla extract, cornflour and lemon juice until the filling is smooth and evenly combined. The finished mixture should be thick, creamy and free from large lumps.
Step 3: Fill the cake tin
Remove the chilled biscuit base from the refrigerator and pour the cheesecake mixture over it. Gently tap the tin against the counter to release any large air bubbles, taking care not to loosen the base. Smooth the surface with a spatula.
Check that the tin fits comfortably inside your air fryer basket, leaving enough space for hot air to circulate around it. Never use a cake tin that touches the heating element or blocks essential airflow.
Step 4: Cook the cheesecake in the air fryer
Preheat the air fryer to 140°C if your model requires preheating. Place the cake tin in the basket and cook for approximately 25 to 40 minutes, checking the cheesecake towards the end of the cooking time.
The outside should look set, while the centre should still have a slight wobble when the tin is gently moved. If the top browns too quickly, loosely cover it with a suitable piece of foil only if your air fryer manual permits it, ensuring the foil is securely held down and cannot reach the heating element.
Cooking times vary according to the air fryer model, tin size and filling depth, so use the texture as your guide rather than relying on time alone. For food safety, the centre should reach 71°C because the filling contains eggs. If it needs more time, continue cooking in short intervals and check again.
Step 5: Cool and chill
Turn off the air fryer and leave the cheesecake inside with the basket open for about 10 minutes. Remove the tin carefully and allow the cheesecake to cool at room temperature until it is no longer hot.
Once cooled, cover the cheesecake and refrigerate it for at least 4 hours, preferably overnight. This chilling period helps the filling firm up and makes the cheesecake easier to slice. Run a thin knife around the edge before releasing the springform tin.
Step 6: Serve and enjoy
Slice the chilled cheesecake with a sharp knife, wiping the blade between cuts for neat portions. Serve it plain or add fresh berries, sliced strawberries, a drizzle of melted chocolate or a spoonful of fruit sauce.
For a simple finish, dust the top lightly with icing sugar just before serving. Keep any leftover cheesecake covered in the refrigerator and enjoy it within three to four days.
Tips for the Best Air Fryer Cheesecake
- Use room-temperature ingredients: Softened cream cheese and room-temperature eggs combine more easily, helping prevent lumps.
- Choose full-fat cream cheese: It generally produces a richer filling and a more reliable texture than low-fat alternatives.
- Mix gently: Overbeating introduces air, which can make the cheesecake puff up and crack.
- Avoid overcooking: The centre should retain a slight wobble when cooking ends, although the cheesecake must still reach a safe internal temperature.
- Allow enough chilling time: Cutting into the cheesecake too early can leave the filling soft and difficult to serve.
- Check your tin size: A deeper cheesecake may require longer cooking, while a wider, shallower one may cook faster.
Easy Variations to Try
Lemon cheesecake: Add an extra teaspoon of lemon zest to the filling for a brighter citrus flavour.
Chocolate cheesecake: Mix 1 to 2 tablespoons of cocoa powder into the filling and serve with chocolate shavings.
Berry cheesecake: Swirl a small amount of thick berry sauce through the filling before cooking, or add fresh berries when serving.
Caramel cheesecake: Drizzle caramel sauce over each slice and sprinkle with a few crushed biscuits for extra crunch.
A creamy air fryer cheesecake proves that you do not need a traditional oven or complicated techniques to make an impressive homemade dessert. The buttery biscuit base provides a crisp contrast to the smooth cream cheese filling, creating a classic combination that is difficult to resist. Using softened ingredients and mixing the filling gently will help you achieve a more even texture. Cooking at a moderate temperature gives the cheesecake time to set without drying out too quickly. Remember that every air fryer behaves differently, so check the centre carefully and make sure it reaches a safe temperature before chilling. Allowing the cheesecake to cool and refrigerating it for several hours will give it the firm, velvety consistency needed for neat slices. Once you have mastered this basic recipe, experiment with lemon, chocolate, berries or caramel to create your own favourite air fryer cheesecake.