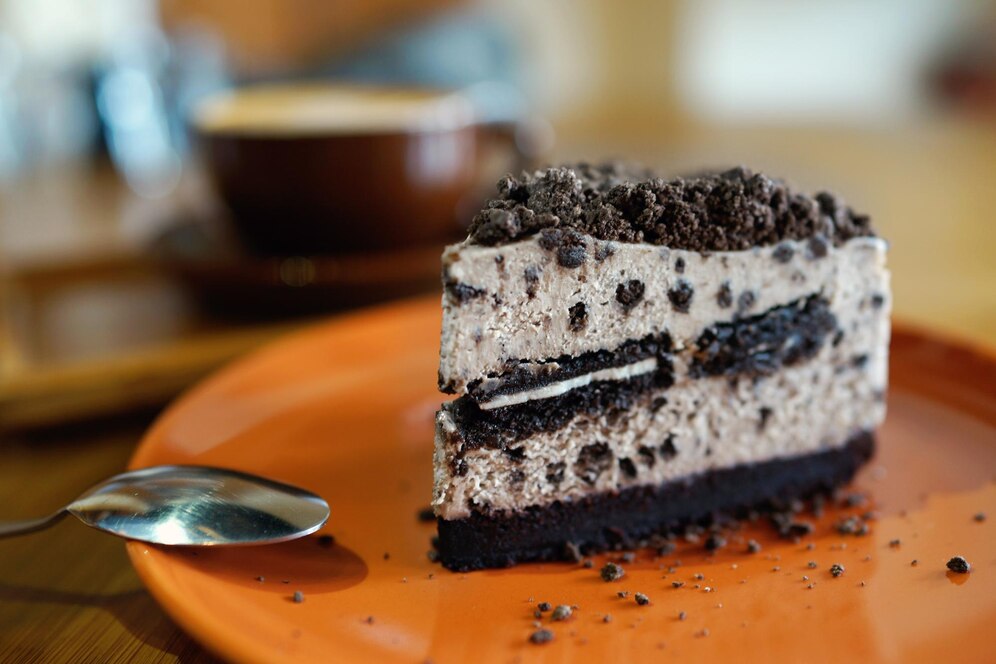
Oreo cookies are a classic favorite in many households, and when combined with creamy layers of indulgence, they make for a dessert that’s impossible to resist. If you’re looking to make a treat that will become a legend in your family, look no further than this no-bake Oreo dessert. It’s simple to prepare, incredibly delicious, and sure to be a hit at any gathering or as a special treat after dinner. This dessert features layers of crushed Oreos, creamy filling, and a perfect balance of sweetness and crunch. Get ready to create a dessert your family will be asking for again and again!
Ingredients (Serves 8-10)
- 24 Oreo cookies, divided
- 450 ml heavy cream
- 250 g cream cheese, softened
- 100 g powdered sugar
- 1 tsp vanilla extract
- 100 g butter, melted
- 150 g chocolate chips (optional for topping)
Instructions
- Prepare the Base
Start by crushing 18 of the Oreo cookies into fine crumbs. You can do this by placing them in a Ziploc bag and gently smashing them with a rolling pin, or by pulsing them in a food processor until they resemble sand-like crumbs. Once crushed, mix the Oreo crumbs with the melted butter in a bowl until the mixture is well combined. - Create the Crust
Press the Oreo and butter mixture into the base of a 9×9-inch (23×23 cm) baking dish or a similar-sized pan. Use a spoon or your hands to press it down firmly so that it forms a solid crust. Place the pan in the fridge for about 10 minutes to firm up while you prepare the filling. - Prepare the Creamy Layer
In a separate bowl, whip the heavy cream until stiff peaks form. This should take about 3–5 minutes with an electric mixer. In another bowl, beat the cream cheese with powdered sugar and vanilla extract until smooth and fluffy. Once the cream cheese mixture is smooth, gently fold in the whipped cream, being careful not to deflate it. The result should be a light, creamy mixture. - Assemble the Dessert
Take the chilled crust out of the fridge and spread a generous layer of the cream mixture over the Oreo base. Make sure it’s evenly distributed, covering the entire crust. - Add the Final Touches
Roughly chop the remaining 6 Oreo cookies and sprinkle them over the top of the creamy layer for added crunch and flavor. If you like, you can also melt some chocolate chips and drizzle the chocolate over the top for an extra indulgent touch. - Chill and Serve
Cover the dessert with plastic wrap and place it in the fridge for at least 3 hours, or overnight if you prefer. This allows the layers to set perfectly and the flavors to meld together. - Serve and Enjoy
Once the dessert has set, slice it into squares and serve chilled. The creamy filling, crunchy Oreo crust, and extra bits of Oreo on top will have your family reaching for seconds – and they’ll probably be asking for the recipe too!
Tips for Success
- Oreo Variations: Feel free to experiment with different Oreo flavors, such as mint or peanut butter, for a fun twist on the classic recipe.
- Make Ahead: This dessert can be made ahead of time, which makes it perfect for busy families or when hosting a party.
- Frozen Version: If you want a frozen treat, you can freeze the dessert instead of refrigerating it. Just be sure to let it thaw for a few minutes before serving.
- Customize: Add crushed nuts, marshmallows, or even a layer of fruit for a unique variation your family will love.
This no-bake Oreo dessert is a perfect combination of creamy, crunchy, and sweet, and it’s so simple to make that even the kids can join in the fun. With just a few ingredients and minimal effort, you’ll have a dessert that’s sure to become a family favorite, passed down for generations to come!


