Few things evoke the cozy warmth of home quite like the aroma of a freshly baked pie. And at the heart of every great pie lies its crust – delicate, flaky, and perfectly golden brown. Achieving that elusive flakiness can seem like a daunting task, but fear not! With the right techniques and a bit of practice, you too can master the art of creating the perfect flaky pie crust every time.
1. Choose the Right Ingredients:
- Flour: Opt for all-purpose flour for a balanced texture, or use a combination of all-purpose and pastry flour for extra tenderness.
- Fat: Traditionalists swear by butter for its rich flavor, but a combination of butter and shortening can offer both flavor and flakiness. Ensure the fat is cold – this is crucial for achieving flakiness.
- Liquid: Ice-cold water is essential for binding the dough together without melting the fat prematurely.
- Salt and Sugar: Salt enhances flavor, while a touch of sugar adds a hint of sweetness and aids in browning.
2. Keep Everything Cold:
- Chill your flour, fat, and even your mixing bowl if possible.
- Cut the fat into small cubes and return it to the refrigerator until ready to use.
- Use ice water and refrain from handling the dough too much to prevent the fat from softening.
3. Master the Technique:
- Start by combining the flour, salt, and sugar in a large bowl.
- Add the cold fat and use a pastry cutter or your fingertips to blend it into the flour mixture until it resembles coarse crumbs.
- Slowly drizzle in the ice water, stirring gently with a fork until the dough just begins to come together. Be careful not to overwork the dough.
- Divide the dough into two equal portions, shape them into discs, and wrap tightly in plastic wrap. Chill in the refrigerator for at least 30 minutes before rolling.
4. Roll with Precision:
- Lightly flour your work surface and rolling pin to prevent sticking.
- Roll the chilled dough out from the center to the edges, rotating it frequently to maintain an even thickness.
- For a standard 9-inch pie, aim for a thickness of about 1/8 inch.
- Once rolled out, carefully transfer the dough to your pie dish, gently pressing it into place and trimming any excess overhang.
5. Handle with Care:
- Avoid stretching the dough when transferring it to the pie dish, as this can cause shrinkage during baking.
- Patch any cracks or tears with a bit of extra dough, using a dab of water to help seal them.
- For a double-crust pie, repeat the rolling process with the second portion of dough and place it over the filled pie before crimping the edges together.
6. Bake to Perfection:
- Preheat your oven to the temperature specified in your pie recipe.
- For a crisp, golden crust, brush the top with an egg wash made from beaten egg and a splash of water or milk before baking.
- To prevent the edges from over-browning, consider covering them with a pie shield or aluminum foil halfway through the baking process.
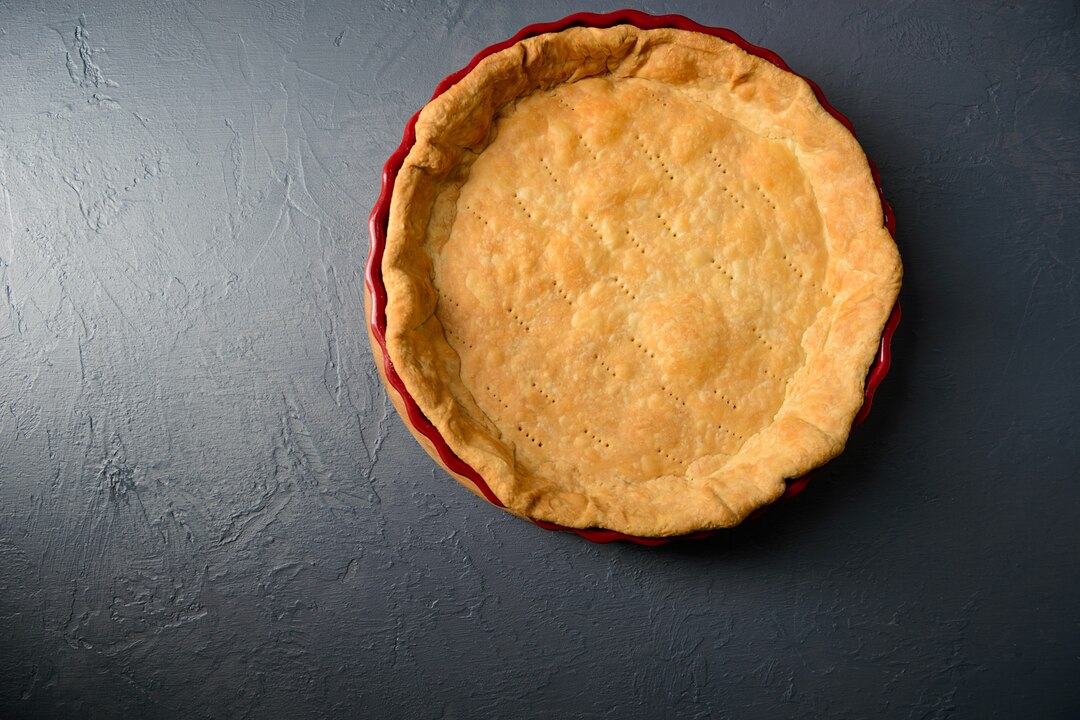
- Bake until the crust is beautifully golden brown and the filling is bubbling – the exact timing will depend on the recipe.
With a bit of patience and attention to detail, achieving the perfect flaky pie crust is well within reach. By starting with quality ingredients, keeping everything cold, mastering the technique, and handling the dough with care, you can elevate your pies to new heights of deliciousness. So don your apron, roll up your sleeves, and prepare to impress your friends and family with your newfound pie-making prowess. Happy baking!